24/7 Emergency Service
Step 4: Drying and Dehumidification
Our Water Damage Restoration Process
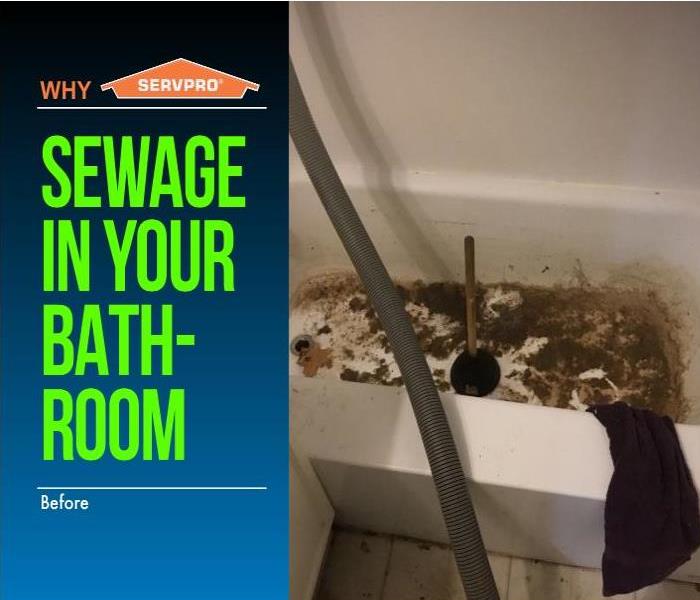
After water damage, even if excess water has been removed, surfaces like floors and walls may still be wet to the touch. This is because most building materials, such as wood, drywall, and flooring materials, are porous and retain water. If left untreated, this retained water can lead to the breakdown, warping, or mold damage of these materials.
It's essential to conduct a thorough inspection and properly dry out the affected areas to prevent further damage. Specialized equipment like dehumidifiers and air movers are used to extract moisture from the air and materials, aiding in the drying process. Monitoring the moisture levels in the air and materials is crucial to ensure that everything is thoroughly dried to prevent mold growth and structural issues.
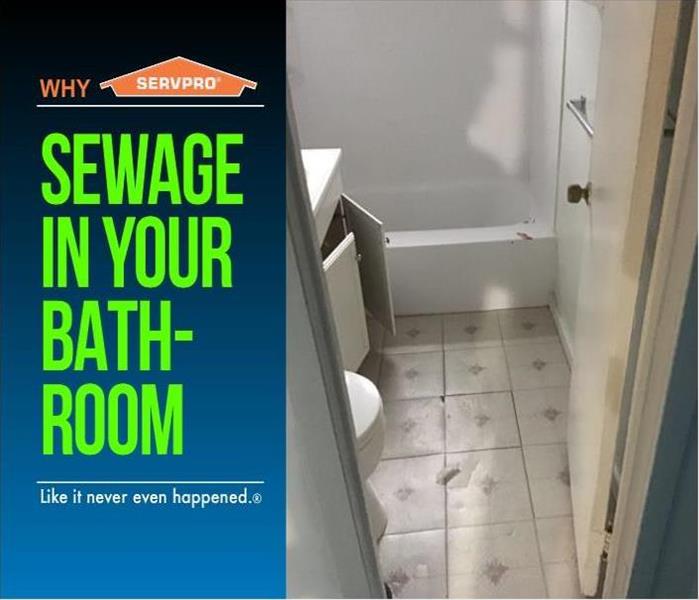
At SERVPRO of Framingham, we understand the importance of thorough water damage restoration. Our team is trained to assess the extent of the damage and implement the necessary steps to dry and restore your property to its pre-damaged condition. Trust us to handle your water damage restoration needs with professionalism, efficiency, and care.
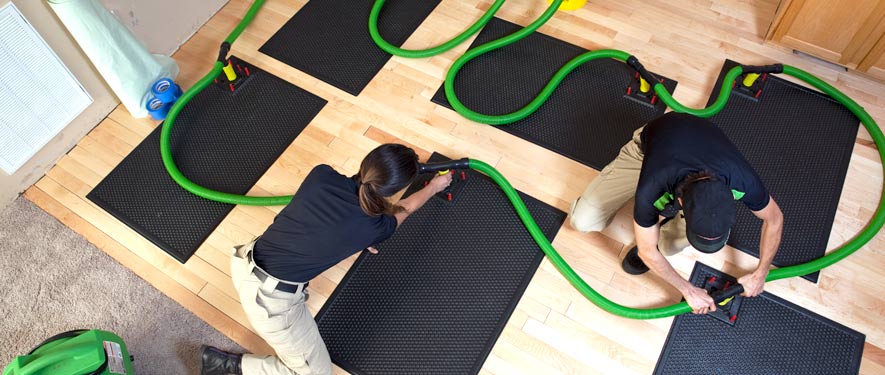
Drying / Dehumidification
Our Professionals will use room measurements, temperature, and relative humidity to determine the optimal number of air movers and dehumidifiers to dry your home or business. We’ll carefully monitor the progress using moisture meters until the materials return to acceptable drying goals.
- Use Dehumidification Equipment
- Use Monitoring Equipment to Track Progress
Monitor Floor and Walls
We check the moisture levels to monitor the drying process.
- Monitor Floors
- Monitor Walls
Drying Equipment
- Industrial-grade dehumidifiers help prevent secondary water damage like swelling and warping of floors, walls, and furniture.
- High-speed air movers create airflow across walls, carpets, pads, and furniture, which accelerates the evaporation of moisture.